Getting Started with Statnive
Learn how to install and configure Statnive for your WordPress site in under a minute.
Install Statnive
Getting analytics on your WordPress site takes just two steps: install the plugin, and watch your dashboard light up. Head to Plugins > Add New in your WordPress admin, search for “Statnive,” and click Install Now. Once activated, Statnive immediately begins tracking visitors — no configuration code, no JavaScript snippets to paste, no account to create.
Your First Dashboard View
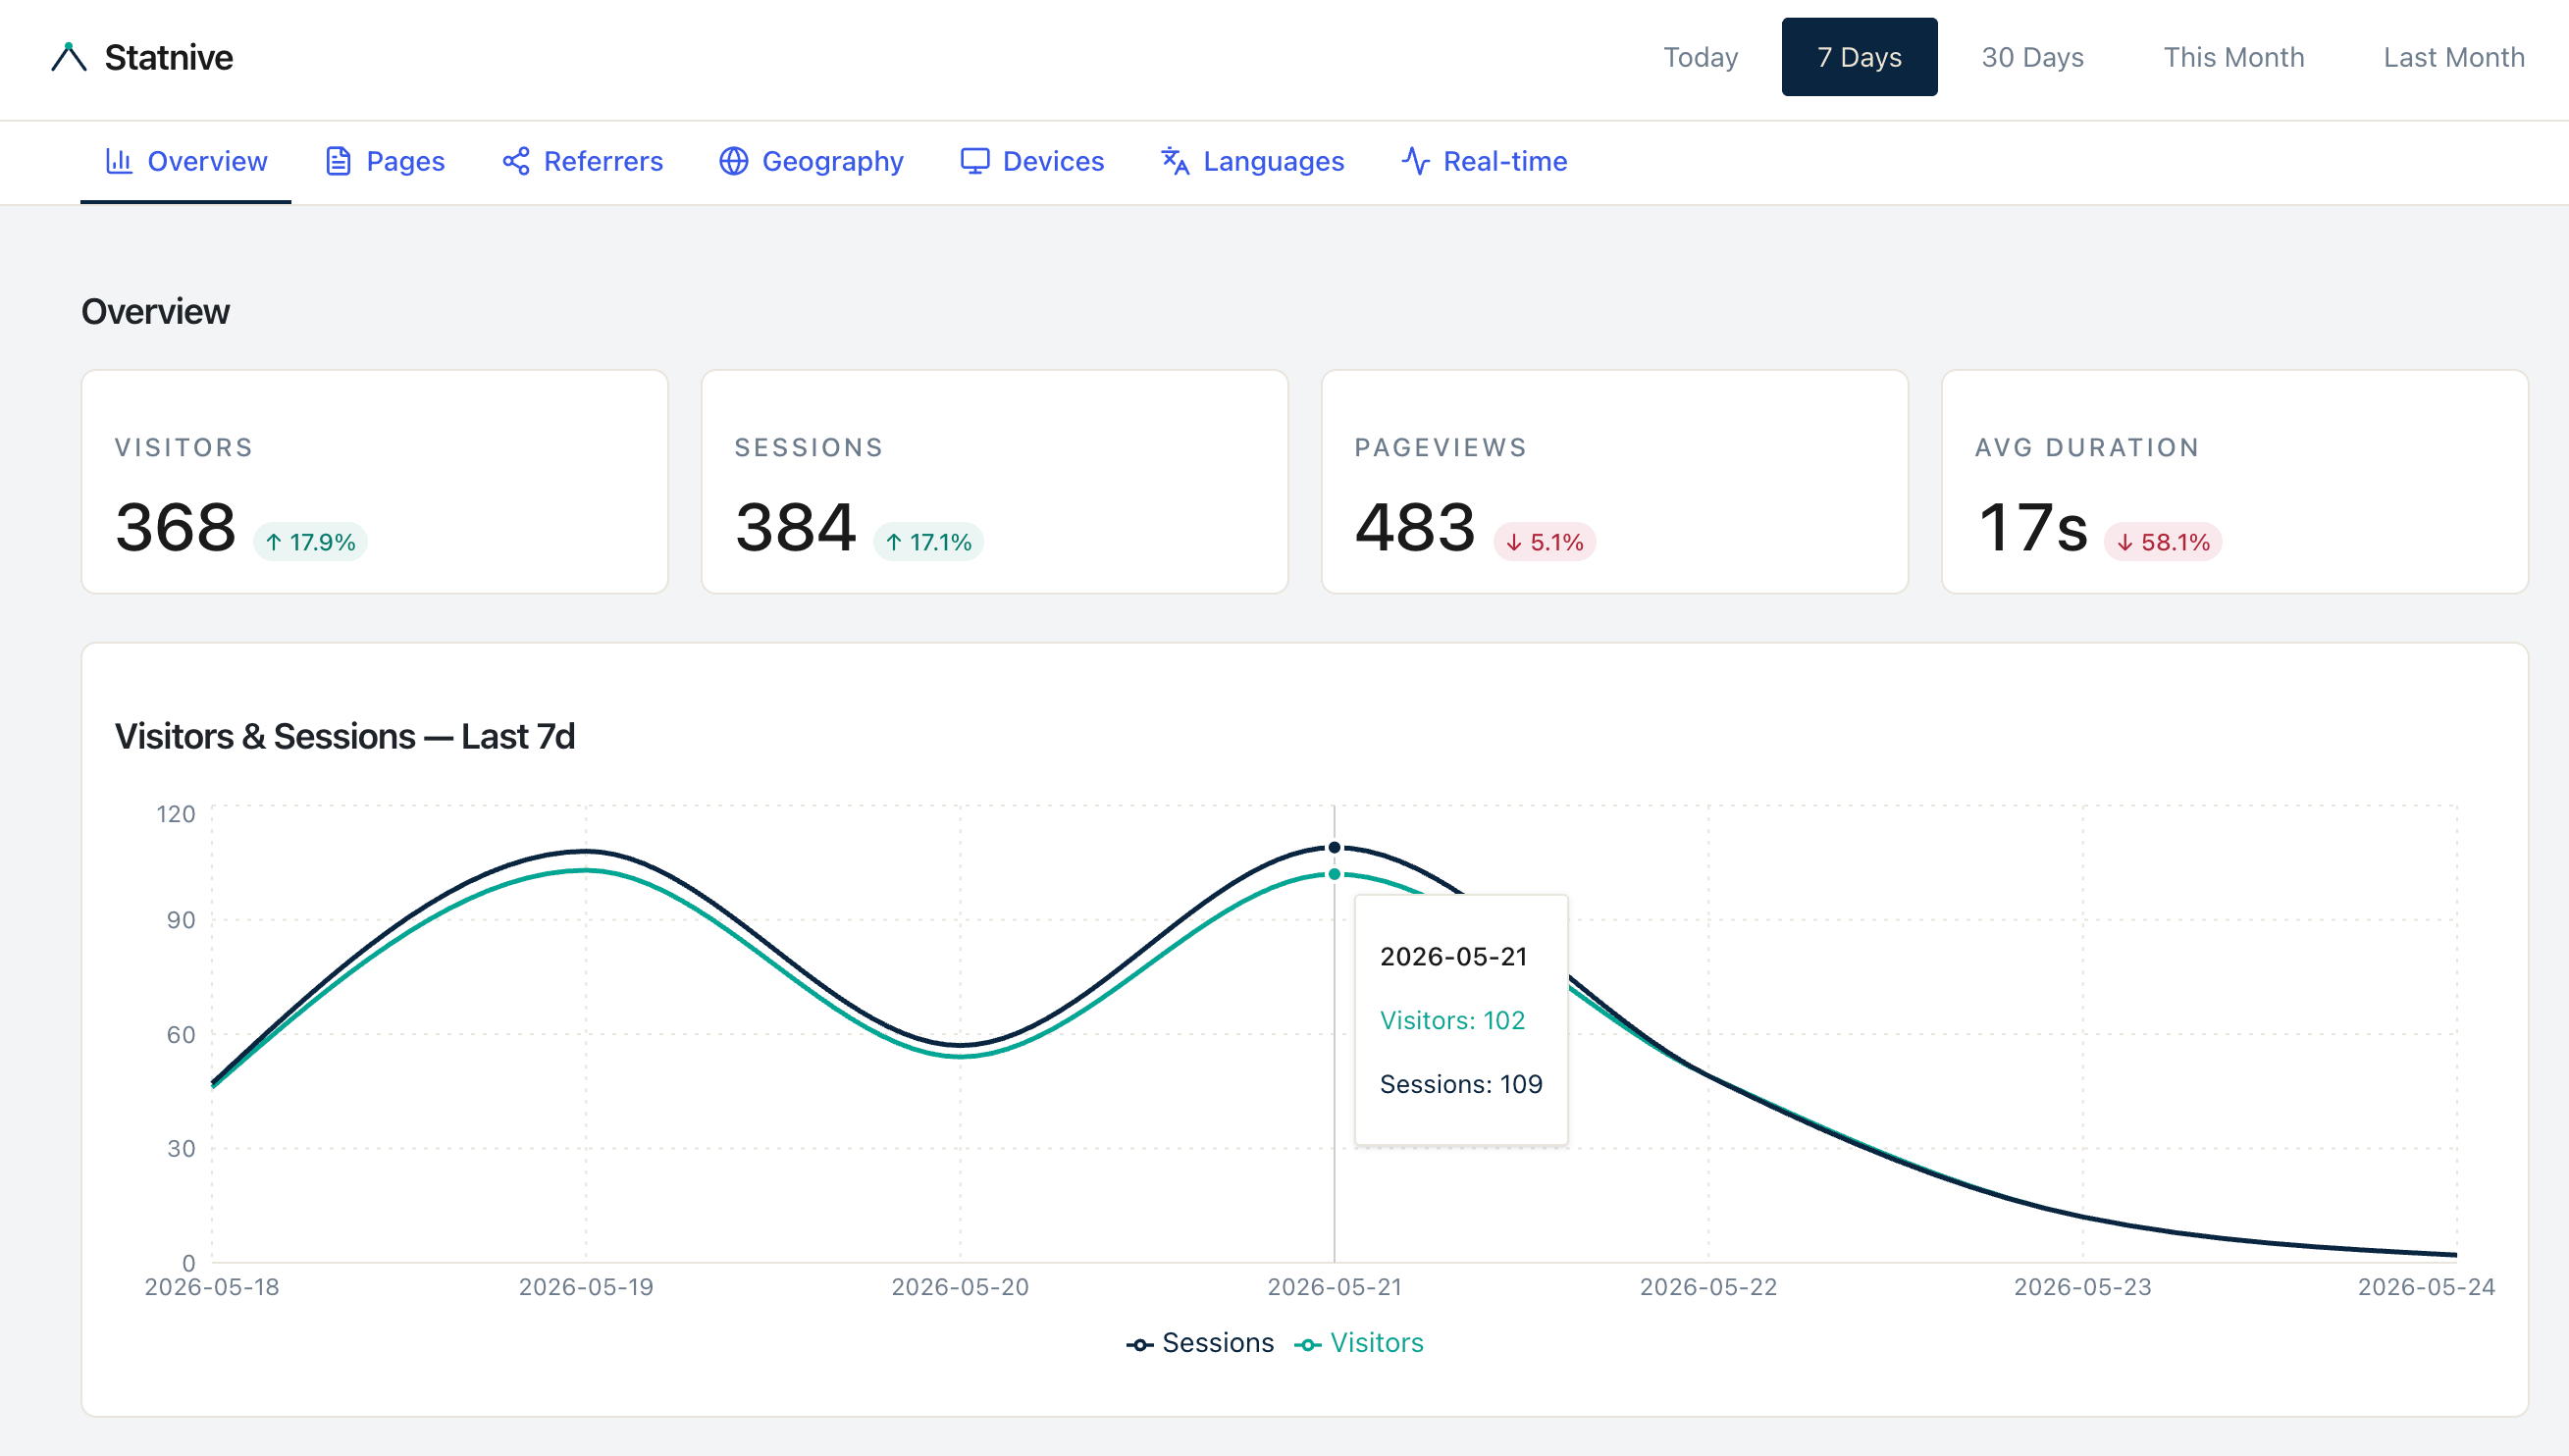
After activation, navigate to the Statnive menu item in your sidebar. You will see the real-time dashboard showing today’s visitors, their traffic sources, and the pages they are viewing right now. The default view focuses on the last 7 days, giving you an actionable snapshot instead of drowning you in month-old data. A green pulse indicator in the top corner tells you exactly how many people are on your site at this moment.

Understanding What You See
Statnive groups incoming traffic into eight human-readable channels: Direct, AI Assistants, Organic Search, Social Media, Email, Referral, Paid Search, and Paid Social. Instead of raw referrer strings like t.co or l.facebook.com, you see clear labels that tell you where your audience actually comes from. Each channel row shows visitor count and session count, making it easy to spot your most engaged traffic sources.
What Comes Next
Once you are comfortable with the default dashboard, explore the Settings panel to fine-tune privacy preferences, configure email reports, or customize tracking preferences. Every setting ships with a sensible default, so you only need to change what matters to your workflow. Statnive is designed around a simple principle: install, connect, grow.
Ready to see everything Statnive can do? Check out the full feature list, compare Statnive with other analytics plugins, or browse the free analytics options for WordPress to see how Statnive’s free tier stacks up against other no-cost plugins.